When it comes to giving your home a fresh, new look, nothing is as effective as a new coat of paint. However, the key to a flawless finish lies not just in the painting itself, but in the preparation beforehand. In this guide, we’ll walk you through the essential steps to prepare your home’s interior for repainting, ensuring a result that’s not only beautiful but long-lasting.
Why Preparation is Key for Interior Painting
Proper preparation is the cornerstone of any successful interior painting project. It ensures that the paint adheres correctly, prevents future problems like peeling or blistering, and contributes to a professional-looking finish. Whether you’re a DIY enthusiast or a professional painter, taking the time to prepare can make the painting process smoother and more efficient.
Step-by-Step Guide to Preparing Your Home’s Interior for Painting
Step 1: Clear the Room
When it comes to interior painting, the first brush stroke is far from the initial step. Before you even open a can of paint, there’s a critical task that needs to be done: clearing the room. This step is often overlooked, but it’s crucial for a successful painting project. In this article, we’ll delve into the importance of clearing the room and provide a step-by-step guide on how to do it effectively.
This step is crucial for several reasons:
- Protection: Removing items from the room helps protect them from accidental paint splatters and spills.
- Space: Clearing the room gives you ample space to move around, making the painting process easier and more efficient.
- Focus: With a clear room, you can better focus on the task at hand without worrying about damaging your belongings.
How to Clear the Room for Painting
Remove Smaller Items
This may seem obvious, but start by removing smaller items such as decorations, wall hangings, curtains, and rugs. Don’t forget to take down curtain rods and remove light fixtures or cover them to protect from paint.
Move Out Furniture
Next, move out as much furniture as you can. If you’re painting a large room or the entire house, consider renting a small storage unit or portable storage container for temporary furniture storage.
Deal with Large Items
For larger items that can’t be moved out of the room, such as heavy furniture or built-in cabinets, move them to the center of the room. You’ll cover these with drop cloths or plastic sheeting later to protect them from paint.
Clean the Room
Once the room is cleared, clean the floors to remove dust and debris. This step is especially important if you’re planning to paint the baseboards or trim.
Step 2: Clean the Walls
Cleaning your walls before painting provides a clean, dust-free surface for the paint to adhere to, ensuring a smoother application and a more durable finish. It also helps to reveal any imperfections, such as cracks or holes, that need to be addressed before painting. Furthermore, removing dust and grime can prevent them from mixing with your paint, which could affect its color and texture.
How to Clean Your Interior Walls
Dust the Walls
Start by dusting your walls to remove loose dirt and dust. You can use a broom with a soft, dusting head or a vacuum with a brush attachment. Start from the top of the wall and work your way down to ensure you’re not just moving dust around.
Prepare Your Cleaning Solution
Next, prepare a mild cleaning solution. Warm water and a small amount of mild detergent or dish soap usually work well for most walls. However, for kitchen walls or other areas that might have grease or heavy dirt, you might need a stronger solution, such as trisodium phosphate (TSP).
Wash the Walls
Using a soft sponge or cloth, wash the walls with your cleaning solution. Again, start at the top and work your way down, cleaning in sections. Rinse the sponge or cloth frequently to avoid spreading dirt around.
Rinse and Dry
After washing, rinse the walls with clean water to remove any soap residue. Then, dry the walls with a clean, dry towel to prevent water stains and streaks.
Address Mold and Mildew
If you notice any mold or mildew on your walls, it’s important to treat these areas before painting. A solution of one part bleach to three parts water can be effective. Remember to wear protective gear and ensure the room is well-ventilated when dealing with mold and mildew.
Step 3: Make Repairs
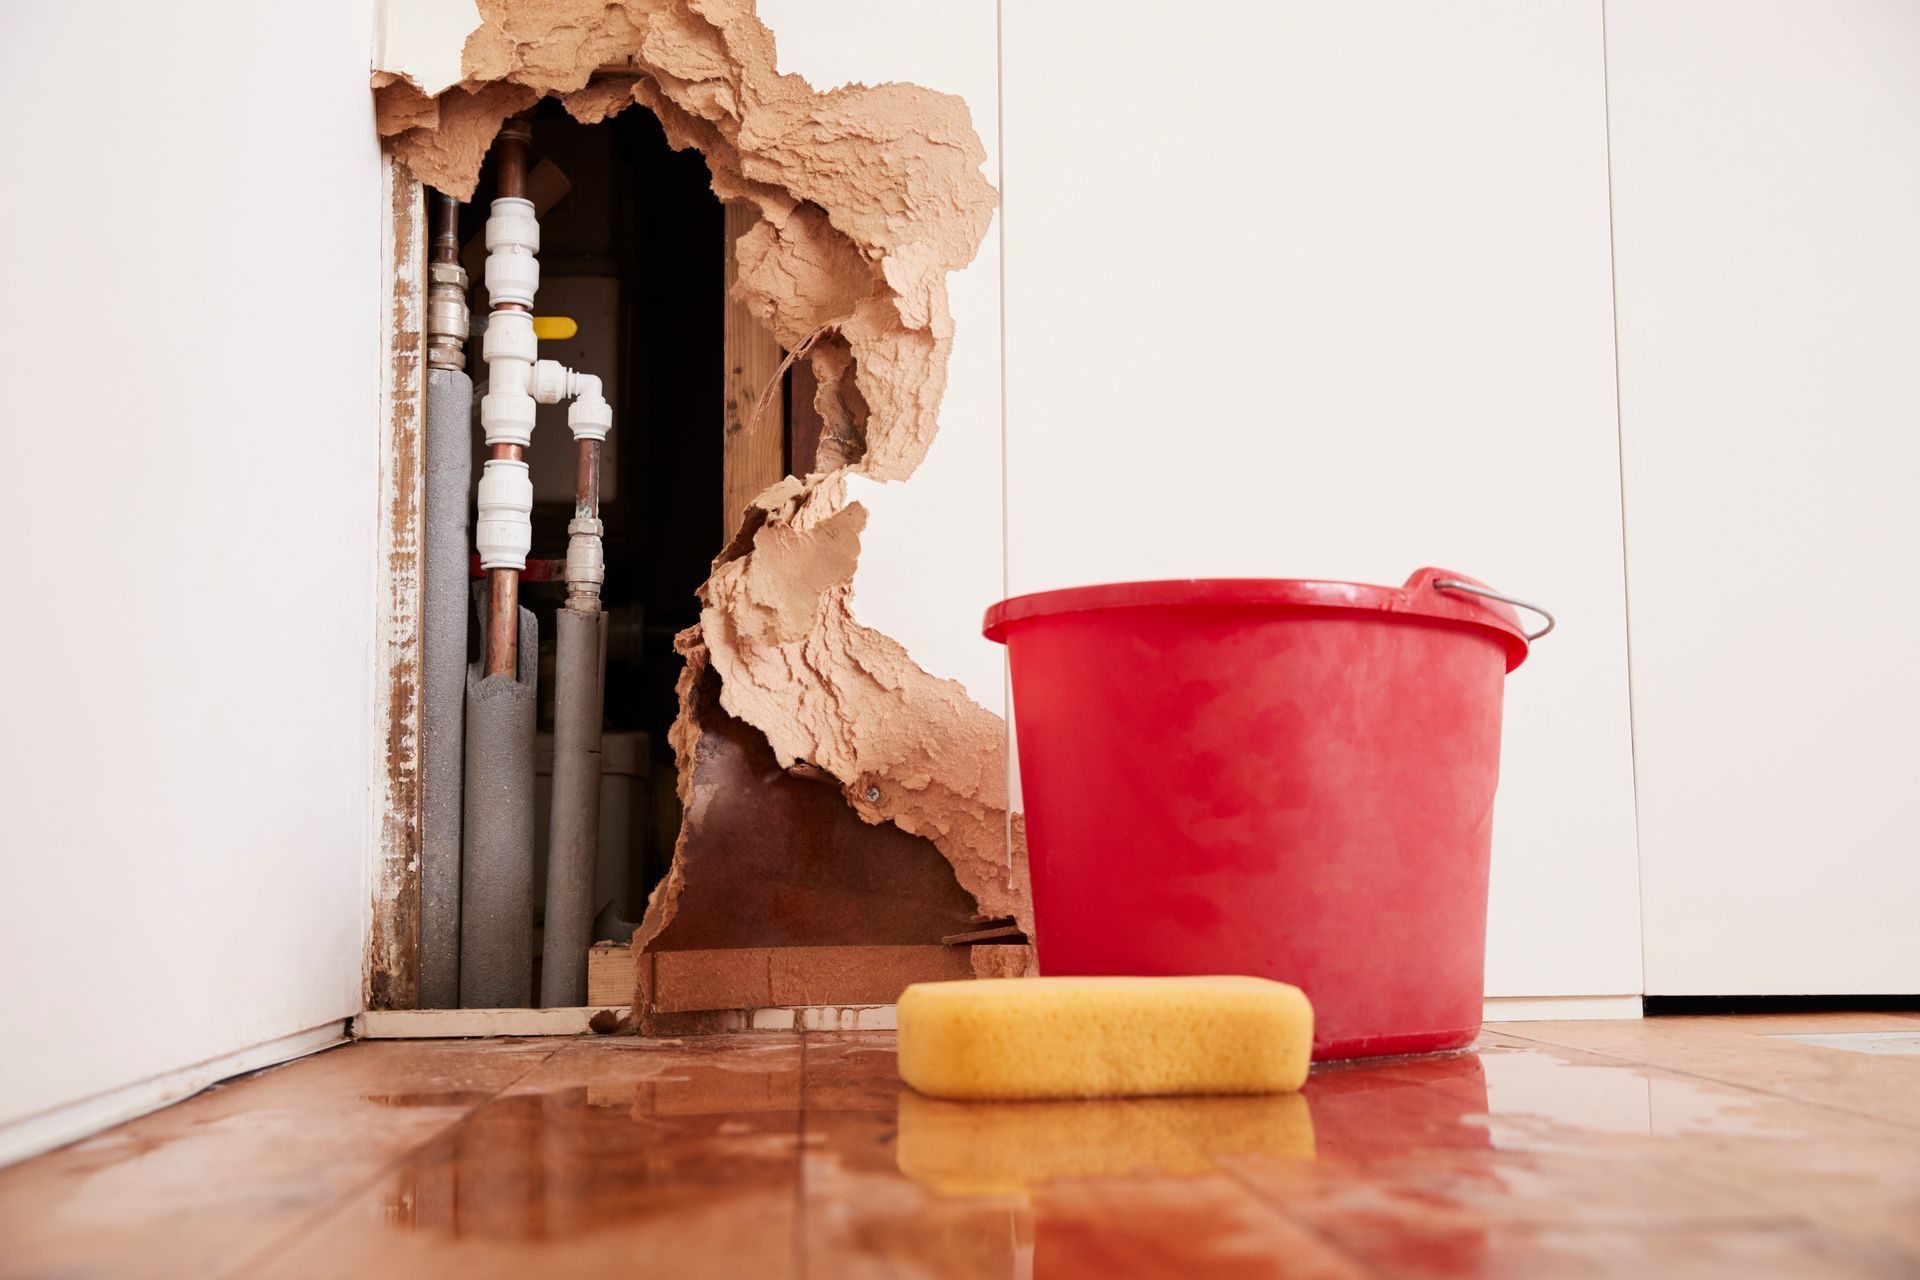
Before embarking on an interior painting project, it’s crucial to ensure your walls are in good shape. This means addressing any cracks, holes, or other damage that could affect the final result. In this article, we’ll guide you through the process of making interior wall repairs, setting the stage for a flawless paint job.
Repairing wall damage before painting is essential for several reasons:
- Smooth Surface: Filling holes and cracks creates a smooth surface for paint to adhere to, resulting in a more professional-looking finish.
- Durability: Repairing damage helps to prevent further deterioration and increases the durability of your paint job.
- Aesthetics: Wall imperfections can stand out even more under a fresh coat of paint. Repairing these issues ensures your walls look their best.
How to Make Interior Wall Repairs
Identify Damages
Start by inspecting your walls for any damages. Look for cracks, holes, dents, or loose plaster that need to be addressed.
Repair Small Holes and Cracks
For small holes and cracks, use a putty knife to fill them with a patching compound or lightweight spackle. Apply the compound, smooth it with the knife, and let it dry according to the manufacturer’s instructions. Once dry, sand the area until it’s smooth and flush with the rest of the wall.
Fix Larger Holes
For larger holes, you’ll need a wall repair patch. These are available in various sizes and are typically made of self-adhesive mesh. Place the patch over the hole, then apply a layer of joint compound over and around the patch, feathering the edges so it blends with the wall. Allow it to dry, then apply a second coat if necessary. Once dry, sand the area smooth.
Addressing Major Damages
Major damages, such as large cracks or areas of loose plaster, may require more extensive repairs. In some cases, it might be necessary to remove the damaged section and replace it with a new piece of drywall. If you’re not comfortable doing this yourself, consider hiring a professional.
Step 4: Mask Off Areas and Apply Painter’s Tape
Applying painter’s tape serves two main purposes:
- Protection: Painter’s tape protects areas that you don’t want to be painted, such as trim, windows, and door frames.
- Precision: Painter’s tape helps you achieve clean, precise lines, giving your paint job a professional look.
How to Mask Off Areas and Apply Painter’s Tape
Choose the Right Tape
Not all painter’s tapes are created equal. The right tape for you depends on the surface you’re painting and the paint you’re using. For most interior painting projects, a medium-adhesion tape is a good choice.
Clean the Surface
Before applying the tape, clean the surface to remove dust and dirt. This ensures the tape adheres properly and prevents paint from seeping underneath.
Apply the Tape
When applying the tape, start at one end and unroll the tape along the edge you want to protect. Keep the roll flat against the surface and avoid stretching the tape.
Press Down the Tape
Once the tape is in place, press it down firmly along the edge. You can use a putty knife or a mini scraper to ensure the tape is sealed tightly against the surface.
Remove the Tape Carefully
After painting, remove the tape before the paint completely dries to prevent peeling. Pull the tape back on itself at a 45-degree angle for best results.
Step 5: Prime the Walls
When it comes to painting the interior of your home, priming the walls is a step that should never be skipped. A primer creates a perfect base for your paint, ensuring a smooth, even finish and true color payoff.
Priming your walls before painting offers several benefits:
- Adhesion: Primer helps paint adhere to the wall better, reducing the chances of peeling or blistering.
- Durability: A primed wall can help your paint job last longer and look better over time.
- Color Accuracy: Primer can help to ensure that the color of your paint looks true to how you intended it to be.
- Coverage: Primer can help to hide stains, dark colors, or patchwork on the wall, leading to fewer coats of paint needed.
How to Prime Your Walls for Painting
Choose the Right Primer
There are several types of primer available, including oil-based, latex-based, and shellac-based. The right one for you depends on the type of paint you’re using and the condition of your walls.
Prepare Your Room
Before you start priming, make sure your room is properly prepared. This includes clearing the room, protecting your floors and furniture with drop cloths, and masking off areas with painter’s tape.
Apply the Primer
Using a brush or roller, apply the primer to your walls. Start at the top and work your way down, using a “W” or “M” pattern for even coverage. Be sure to cover the entire wall, paying extra attention to corners and edges.
Let It Dry
Allow the primer to dry completely before you start painting. The drying time can vary depending on the type of primer and the conditions of your room, so be sure to check the manufacturer’s instructions.
Preparing your home’s interior for repainting may require some time and effort, but the result is well worth it. With these steps, you’re well on your way to a successful painting project that will refresh and revitalize your home. Remember, the key to a professional-looking finish lies in the preparation. Happy painting!
Local Westchester County, NY Paint Resources


